13/345 Southport-Nerang Rd, Ashmore Q 4214
12/110 Kortum Drive, Burleigh Heads Q 4220

Healthy Recipes & Nutrition tips

TASTY RECIPE OF THE MONTH & EAT SMART TIPS 

Courtesy of Eat Smart Nutrition Consultants 
Subscribe to the Blog of Eat Smart Nutrition for great weekly recipes, Eat Smart Dietitians

Eat Smart Nutrition Gold Coast at Gold Coast Physio & Sports Health Ashmore & Burleigh Clinics –  ph (07)5500 6470 for appointments

Pear, Cinnamon & Walnut Porridge  

Perfect for winter! Here

Crunchy Nut & Seed Cookies

A super healthy snack Here

Favourite Healthy Smoothie Recipes from the Team

We love these!! Click Here

Tiramisu

Try this modified version for a Low-Fat Christmas Dessert – Here

Carrot Cake Muffins

These tasty little treats are super most, and even healthy! They are great lunch box snacks for the kids, or an on the go snack when busy life takes hold.

They also freeze really well! Recipe Here

Chicken & Veggie Massaman Curry

Recipe Here

Apple Pie Oats

Oats have to be one of the quickest, most nutritious breakfasts going, and so cheap too! They are that cosy winter warmer, and a good source of fibre to keep you feeling full throughout the morning.  Recipe Here

Healthy & Tasty Buckwheat Pancakes

Buckwheat is not a grain it is actually a fruit seed related to the rhubarb family, which makes it gluten free and coeliac friendly!

Find Recipe Here

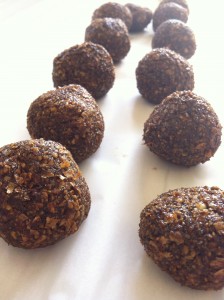
Magnesium Rich Protein Balls
Magnesium nutrition facts & receipe:
1 cup light peanut butter provides 99% of a person’s magnesium requirement*
80g of Brazil Nuts provides 85% of a person’s magnesium requirement*
100g of Cashews provides 73% of a person’s magnesium requirement*
100g of Almonds provides 67% of a person’s magnesium requirement*
4tbs Cocoa powder provides 24% of a person’s magnesium requirement*

Lunchbox Ideas for your Kids
Eat Smart’s High Fibre Smoothie Bowl

Click here for yum yum yum 

Eat Smart’s top tips on surviving Christmas

Click here for your nutrition tips for the festive season

Homemade energy bars for a substantial snack on active days

Click here for these amazing recipes yummy

gold coast phyiso and sports health

High Fibre Smoothie Bowl

Yummmm!

 Checkout Apple Mint Salad
For this great Snack Recipe Click Here

sports dietitian gold coast physio massageLemon, Coconut & Cashew Goodie Balls
For this great Snack Recipe Click Here

Spring Lamb, kale, haloumi, pomegranate & pumpkin warm spring salad

Check out this great recipe to bring in Spring Click here


Try our delicious Hazelnut Cacao Goodie Balls 

For all recipe and cooking instructions Click here

Performance Muesli Bars

Every athlete’s best friend

Training food should taste good and be good for you click here

Great Summer BBQ Ideas

Try these out this summer on the BBQ for a healthier you

Fire up your taste buds right here

Sports Physio Burleigh Runaway Bay Labrador

Looking for winter breakfast ideas? Prefer savoury to sweet? We have you covered!

Start cooking right here

What is the difference between milk substitutes?

So if you’ve decided non-dairy milk is right for you or if you’ve been diagnosed as lactose intolerant/sensitive, milk alternatives can be a great way to help to meet your bodies nutritional and energy needs.

So what is the right one for you? Find out here

Try our delicious Peanut Butter Protein Balls recipe 
Perfect as a pre work out or post training snack.

For all recipe and cooking instructions Click here

Sports Massage Physio PilatesDo You Eat More In Winter?

Try these tips to get you through the winter months Click here

Feature July 2012: Listening To Your Body To Prevent Injuries

Listening To Your Body To Prevent Injuries- By Physio Erin Georgeson

How often have you heard someone say: “It’s ok, it’s just a niggle”; “Suck it up, you’ll be right”; ’I’m fine, I can push through it”; or “That pain/stiffness will just go away”. Does this sound like you??

As a physio, we hear these comments regularly from our clients. While in some cases it may well just be a ‘niggle’ that will disappear, the majority of the time these ‘niggles’ are actually a warning bell that something isn’t right. You feel it once, it goes away. You feel it twice and that niggle sticks around for a bit longer. It happens a third time and doesn’t settle. Then, all of a sudden, that niggle is there every time you train. Sound familiar??? Unfortunately, this story is way too common and, in most cases, these injuries could be easily prevented.

And the best way to prevent them is by simply Listening To Your Body!!!

I’m sure all therapists and athletes would agree that taking a proactive approach to your training will lead to better long term outcomes. For the average weekend warrior, having greater body awareness not only improves your technique and efficiency, but you will be more ‘in tune’ with how your body is responding to your training regime to maximise the benefits of training. Listening to your body and learning how to manage that niggle early on will keep you on track and help prevent those nasty injuries that keep you from training or competing.

With running season in full swing, some of the most common injuries we have treated recently include tendinopathies (what we used to call “tendonitis”) and stress fractures. In a broad sense we could refer to these conditions as overuse injuries, where the repetitive load going through the tissue is too much for it to handle. These are progressive conditions which will worsen with more load placed on them. If left untreated they can have devastating outcomes which may result in immobilisation of the affected area or complete rest form training. This is of course problematic when you have a goal or an upcoming event you wish to participate in. Unfortunately, people often don’t come into the clinic until they are in pain, at which point their training program is often interrupted. Overuse injuries take time to heal. If you have been putting up with that niggle for the previous 6 weeks, and it has progressively worsened to a constant pain, then it is safe to say it won’t clear up in a few days! The earlier you address your niggle, the sooner you will be back on track in training (and the less chance we have of being the bearer of bad news!).

A number of factors contribute to overuse injuries including: increased training volume; change of shoes; muscle imbalances; stiff joints and/or change of training surface. Over the past few months I have found myself regularly educating athletes on overuse injuries, why they occur and how they can be prevented and managed. Simply put, if you learn how these factors can affect your training and therefore impact on your body, you will have a more effective training program while avoiding any negative consequences.

Is it because you suddenly started exercising 5 days a week? Did you just get new shoes? Did you start running a faster 5km? Did you decide to push it out to 15km 3 days a week instead of 1 day? Have you had a previous injury? All these questions give us information as to what is going on and what action should be taken.

So, next time you have a  niggle what are you going to do?  Don’t just suck it up, push through it or plead ignorance. Talk to your coach/trainer or make an appointment with your physio. A good physio will do a thorough assessment to find the cause of the problem (something we do really well at Gold Coast Physio & Sports Health), treat the affected area/s and advise you on best management, including rehabilitation exercises and training modifications. If you are a novice, seek advice from a professional before starting training. If you are unsure of how your body is responding, make an appointment with your physiotherapist to discuss it.

So, the moral of this story is: prevention is always better than cure. Next time you next feel that niggle, don’t ignore it, listen to it and come visit us for advice!!!

Trail vs Road Running

Words by Britt Caling, APA titled Sports Physio.

Why not do some Trail Running to complement your Road Running training?

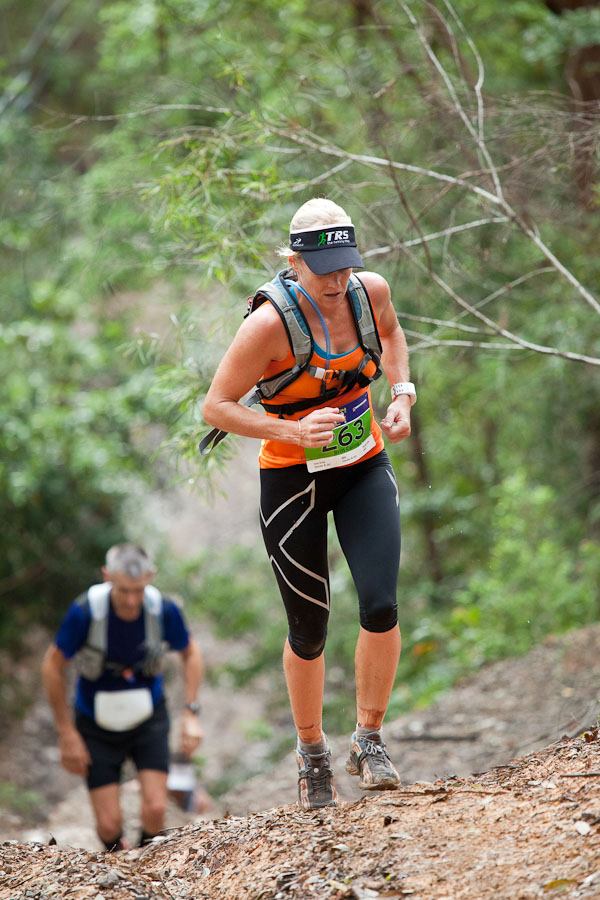
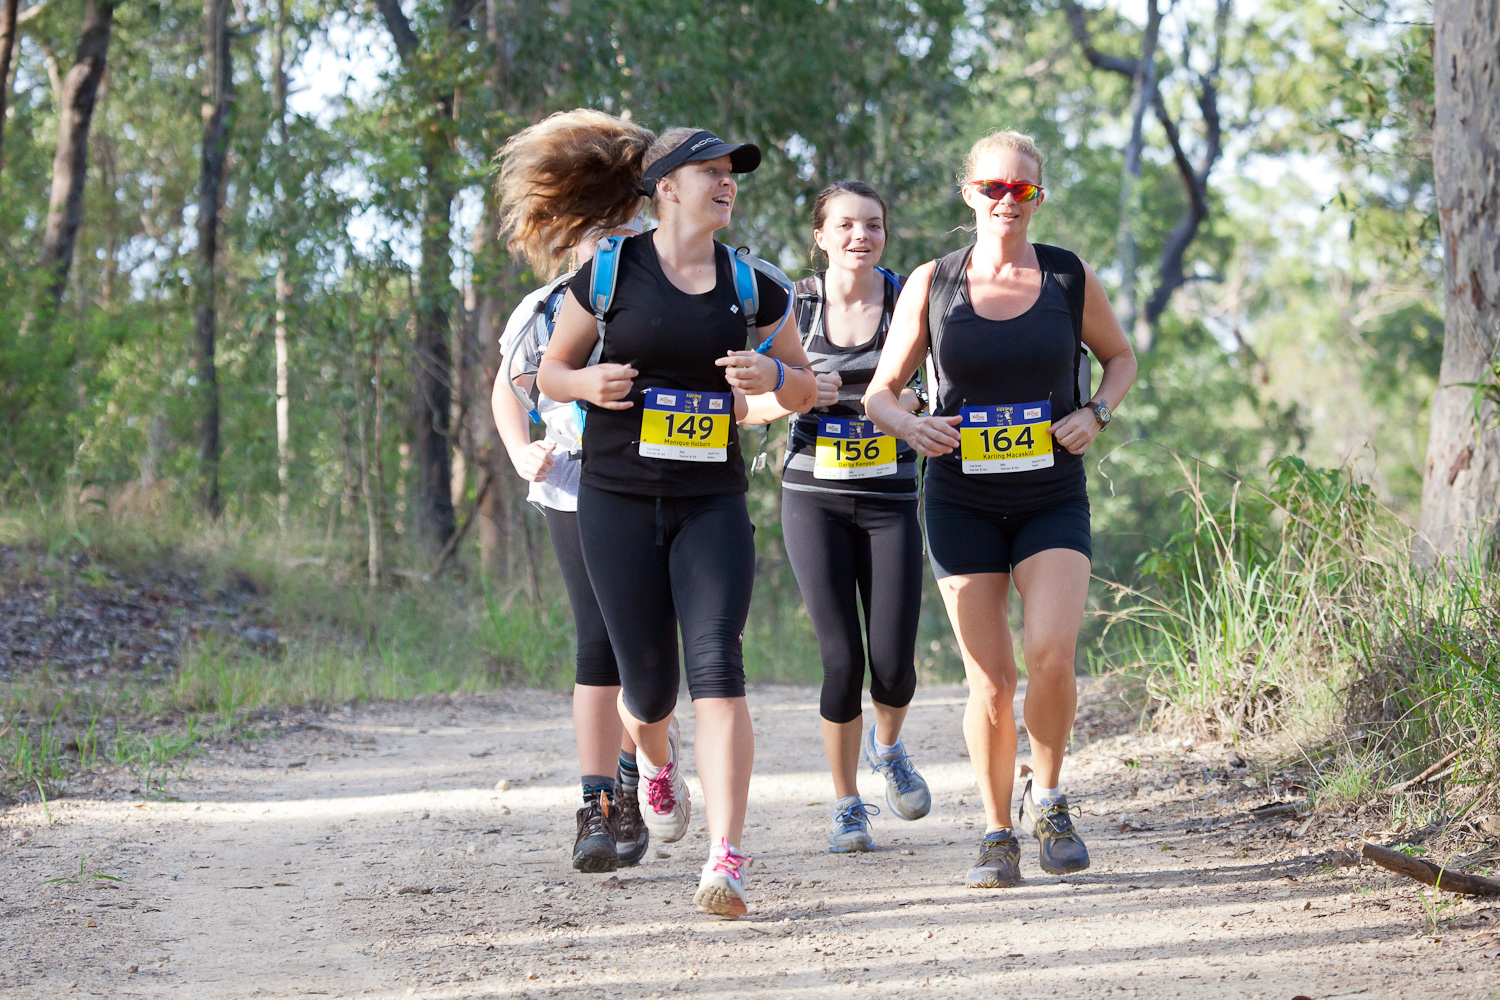
So you think Trail Running and Road Running are the same thing? Wrong! Trail running is the off-road equivalent to mountain biking compared to road riding, and Trail running is surprisingly different to on-road running. If you haven’t tried trail running, I recommend you have a go to understand that there are some fantastic benefits to running off-road that can complement your on-road training programs.

What are the main differences between trail and road running?

– Your stride will be slightly different and more variable off-road. Every step you take on a trail will be slightly different due to varying terrain so your tissues never experience exactly the same force two steps in a row. Additionally, the softer trail surfaces reduce the ground impact force compared to normal on-road running surfaces.  This will help reduce the risk of sustaining an overuse injury.  Overuse injuries (such as shin splints, ITB friction, Achilles injury and bone stress fractures) are commonly associated with the repetitive microtrauma caused by road running.

– When trail running you are required to lift your feet over obstacles (fallen branches, logs, rocks, roots and the occasional animal) so you need greater hip flexion and therefore better hip flexor and abdominal strength; you will develop greater foot and ankle stability; and you will tend to have a slightly shorter stride length in technical terrain

– Trail running usually involves hills so off-road is more about strength and co-ordination than pure technique and running economy

Tips for running off-road:

– As a sports Physio, I recommend taping your ankles when starting out running on trails to minimise the risk of an ankle ligament sprain.

– Use specific trail running shoes. These shoes have features that will help make your trail running easier: greater under-sole grip (usually more lugs and nodules) and a different rubber compound for better grip on slippery surfaces such as rocks and logs; some have a firmer plate in the sole so that sharp rocks don’t protrude through the shoe into your foot; and they often have a firmer arch and rearfoot/heel counter support to help keep your foot firmer on an unstable surface.

– Know where you are and/or where you are going: take a phone, a map or run with someone who knows where they are going.  Take a gel or food if you plan a longer run just in case you get lost

– Get into the habit of taking water with you or puratabs to sterilise water from creeks. It’s unlikely you will come across a working tap in the middle of the bush!

– Run to time, not distance. Undulating terrain and varying underfoot conditions makes it difficult to run to pace, so don’t expect to run the same speed off road as you do with your road training.

– Run light on ground contact but with a feeling of “firm” ankles and feet. The idea is that your ground contact time should be minimal. This ensures that your foot will be quickly on and then off any moving obstacles under your feet to reduce slipping.

– Look ahead 2-4m in front so you choose the best line to run and sight where you place your feet.

– You may encounter obstacles when trail running that you would never see on road, like rickety bridges with panels missing, slippery boulders and snakes. Don’t be afraid to stop and walk at any time that you feel uncomfortable or hesitant. I call this trail running Occupational Health and Safety- better to be safe and sure than risk getting injured in a fall.

Finally but most importantly, don’t forget to appreciate your surrounds: no cars, beautiful scenery and peace and quiet make for a great experience

Barefoot Running

Can I Run A Marathon Barefoot?

By APA Sports Physio, Britt Caling

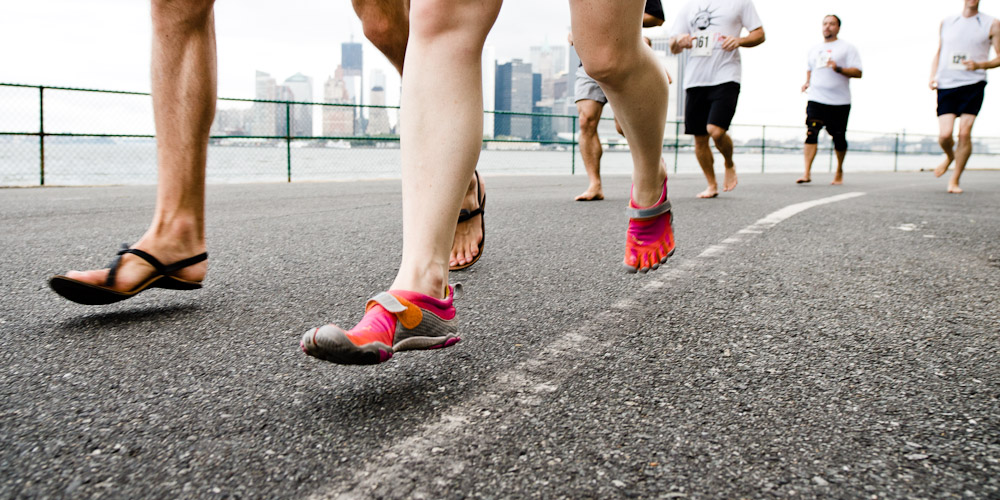
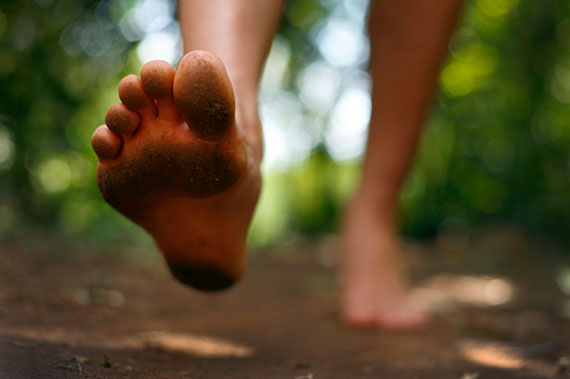
The simple answer to this question is “yes”. As a Sports Physio, I would suggest that almost anyone can run a marathon barefoot if you have the patience to allow your body to adapt to barefoot running conditions and the persistence to work on the technical/skill aspects of running.

The barefoot running trend has evolved from studying our evolutionary biology. Harvard Professor Daniel Lieberman is leading the way on explaining this topic. As a brief summary, it is suggested that 2million years ago when Humans transitioned to eating meat, we developed a rare skill within the animal world: that is, the ability to run long distances at speeds faster than most quadrupeds can gallop. Professor Lieberman explains that most animals can’t regulate their heat while galloping, so this Human ability allowed us to track quadruped animals over long distances until the animal died of heat exhaustion: a technique known as “Persistence Hunting”.

A word of caution before deciding to throw away your shoes and start run training for a marathon based on our evolution: barefoot running does not guarantee you will be injury-free. I believe what is more important for reducing the risk of injury is the running technique you use rather than what is on your feet. However, it does seem that the biggest benefit of barefoot running is that it automatically improves your running technique. So for those athletes that have less interest (or motivation) in wanting to improve running technique by doing drill work and thinking about their running, barefoot running may be for you!

The main technique benefits that come from barefoot running:

1. Habitual barefoot runners almost always forefoot strike. This allows the forefoot to spread the force of foot strike over a longer time and reduces the forces travelling up into the lower limb and spine

2. Barefoot runners naturally have a higher stride frequency and shorter (more appropriate) stride length. Basically it hurts your feet to over stride so you will learn how to take an appropriate step length.

3. Barefoot runners have no rapid impact force spike on foot strike (Impulse at foot strike reduces from 6-7% of body mass to 1.4%). A high impact force spike has been associated with increased risk of lower limb injuries. A good example of understanding this is if you try running barefoot on a hard surface you will notice how quiet your foot strike is. A loud foot strike is an indication of a higher collision force with the ground. Lower ground collision forces means less force being transmitted to, and absorbed by, the tissues in your body.

4. Improved proprioception of you foot and lower limb position in space. Our feet have a huge number of proprioceptors (position sense receptors) within them so running barefoot provides more sensory feedback to our body in space.

With all these benefits of going barefoot, why can’t you just start doing all you’re running without shoes? The biggest risk is injury to your Calf, Achilles or Intrinsic Foot. Barefoot running results in increased activation in your calf and the small muscles that make-up the arches of your feet. If these muscles are not strong to begin with, then suddenly doing all your running barefoot may result in overuse injury to these tissues. Just like any other muscle in your body, these can be strengthened but this process takes time. A realistic time-frame to transition from running in shoes to running a full training program barefoot without injury is likely 18months to 2years. Patience and persistence are definatley required.

Below are the tips to helping you run a Marathon barefoot:

– Remember: barefoot and shod running are different. Transition slowly to build calf, achilles and foot muscle strength. These tissues need time to adapt to greater loads. The time-frame for this adaptation before you can run a Marathon will be individual, but I would advise starting your barefoot running very minimally (ie. 2-5min at a time) and taking 2-3years to transition to a full running program in bare feet.

– Gradually increase your time running barefoot. Either carry your shoes with you or run close to home so you can put your shoes on mid run and continue to work on the same run technique with shoes on.

– Relax when starting to run barefoot and run on slightly harder (but smooth) surfaces so you can listen to your foot strike. It should sound soft. This means not listening to music when you first start out barefoot run training.

A final note:

Running form is more important than what is on your feet. So whether you choose to wear shoes or not, you can improve your running by simply by working on your technique

running physio and running technique
running physio gold coast

Mountain Biking Tips

Starting to Mountain Bike after being a road rider/triathlete seems like it should be a pretty easy cross-over right?  On both bikes you just sit in the saddle, put your feet on the pedals and pedal in a circle while holding the handle bars right? So, how hard can it be to start Mountain Biking???

Mountain biking and road riding actually require very different technique and skills.  On a road bike, your aim is to sit on the seat and keep still and stable so that you can generate force from your hips and legs that transfer to the pedals to propel you forwards as fast as possible.  You aim for the bike and rider to be stable.

On a mountain bike, you will need to allow the bike to move around underneath you.  The aim is to keep your centre of mass stable over the centre of the bike, but you will always be moving up and down and in and out of the saddle adjusting to terrain and obstacles while trying to keep forwards momentum.  It takes time to get comfortable with this movement and these adjustments, so the biggest tip I can give anyone coming from road riding to mountain biking is: expect mountain biking to be very different and be prepared to be persistent in learning a totally new skill!!

Top Tips to start cross-country Mountain Biking:

1. Buy/use a mountain bike that fits! The right size is essential for your skill development and a good bike shop should measure you up and guide you just as if you were buying a road bike

2. Set-up your mountain bike position essentially the same as your road position:

– consider dropping your saddle 5-15mm to start so it is easier for you to reach the ground and put your foot down

-keep your saddle in the same fore-aft position over your bottom bracket and set-up your cleats as close as possible to the same as your road cleats

-ideally use a pair of carbon-soled mtb shoes as this helps your force transfer to the pedals, but be aware that if you have any hike-a-bikes (ie. where you are walking/pushing your bike up a hill or through the mud), these shoes are harder to walk in than plastic-soled shoes and your feet may become uncomfortable if you have to do this for long periods (ie. when adventure racing)

-make sure your grips are not too thick (especially if you are a female with small hands).  On a mountain bike you will need better grip than on the road and you need easy access to your brake levers

3. Start mtb-ing in shoes and cleats. Although this thought may be a little more daunting than starting in jogger shoes without your feet fixed to the pedals, it is A LOT harder to learn correct skills.  Having your feet fixed to the pedals by using cleats allows you to help maneuver the bike through your feet and improves this point as a base of support.  Most mtb shoe and cleat systems are looser than road so it should be easier for you to clip-out. If it is stiff if anyway to clip out, adjust your pedals and check if you need to cut-away any rubber under the bottom of your shoe to allow your cleat to slide out of the pedal easier

4. Disc brakes are far, far superior to standard caliper brakes so try and find an mtb with disc brakes.  If you do have disc brakes, ride with only 2 fingers on (or close to) your brake levers as disc brakes don’t require much pressure to slow you down fast

5. On a mtb your upper body strength and connection of your arms to your torso is far more important than on the road.  This is essential for directing where you want the front of the bike to go, especially when cornering. Think about keeping your shoulders down and gently drawing your lats and shoulder-blades down and flat onto your trunk

6. Look ahead 2-5m to sight the line that you want to ride.  This is especially important when cornering- always continue to look around the corner to keep your line

7. When riding up a steep hill, pull yourself forwards and sit on the very front tip of your seat to keep your front wheel down. When riding a steep downhill, move your bum towards the back of the seat- you may need to even drop your bum completely over the back of your saddle to prevent yourself going over the handlebars

8. Find a balance between speed and your level of skill.  The faster you can ride over obstacles and through sand/mud/over rocks often makes it easier to negotiate these obstacles as your bike has momentum and it reduces slippage

9. When riding technical terrain, always go with at least 1 friend and take a phone that works so that if something were to happen you have access to help

10. Allow the bike to move underneath you.  Its ok for your tyres to slip and slide just a little. Get comfortable with this feeling and gradually develop the confidence to know that your tyres are thicker and grippier than your road tyres and that just because your wheel slips doesn’t mean you are going to fall off

11. Finally: Be patient and be prepared to have a few stacks before you really feel the thrill and challenge of being a good mountain-biker

Where to Mountain Bike on the Gold Coast:

If you want a really easy start to mountain biking, try the sandy trails of The Spit.

For a nice ride with flowing tracks that provides more challenge than The Spit, head up to Daisy Hill (about 45min north of the Gold Coast).  Daisy Hill has manicured and purpose-built tracks appropriate for various levels.

If you are happy to throw yourself in the deep-end, head to Nerang State Forest (entry at the Velodrome). Nerang is about as technical as it comes in regards to mountain biking and if you can ride here, you can ride anywhere.  With all the single-track and fire roads, there is probably around 60km of riding to be done out there without going over the same track.  But be aware: it is hilly and rocky, and you will encounter obstacles galore and some very technical and skinny bridges- but it can also be fun and challenging as anything!

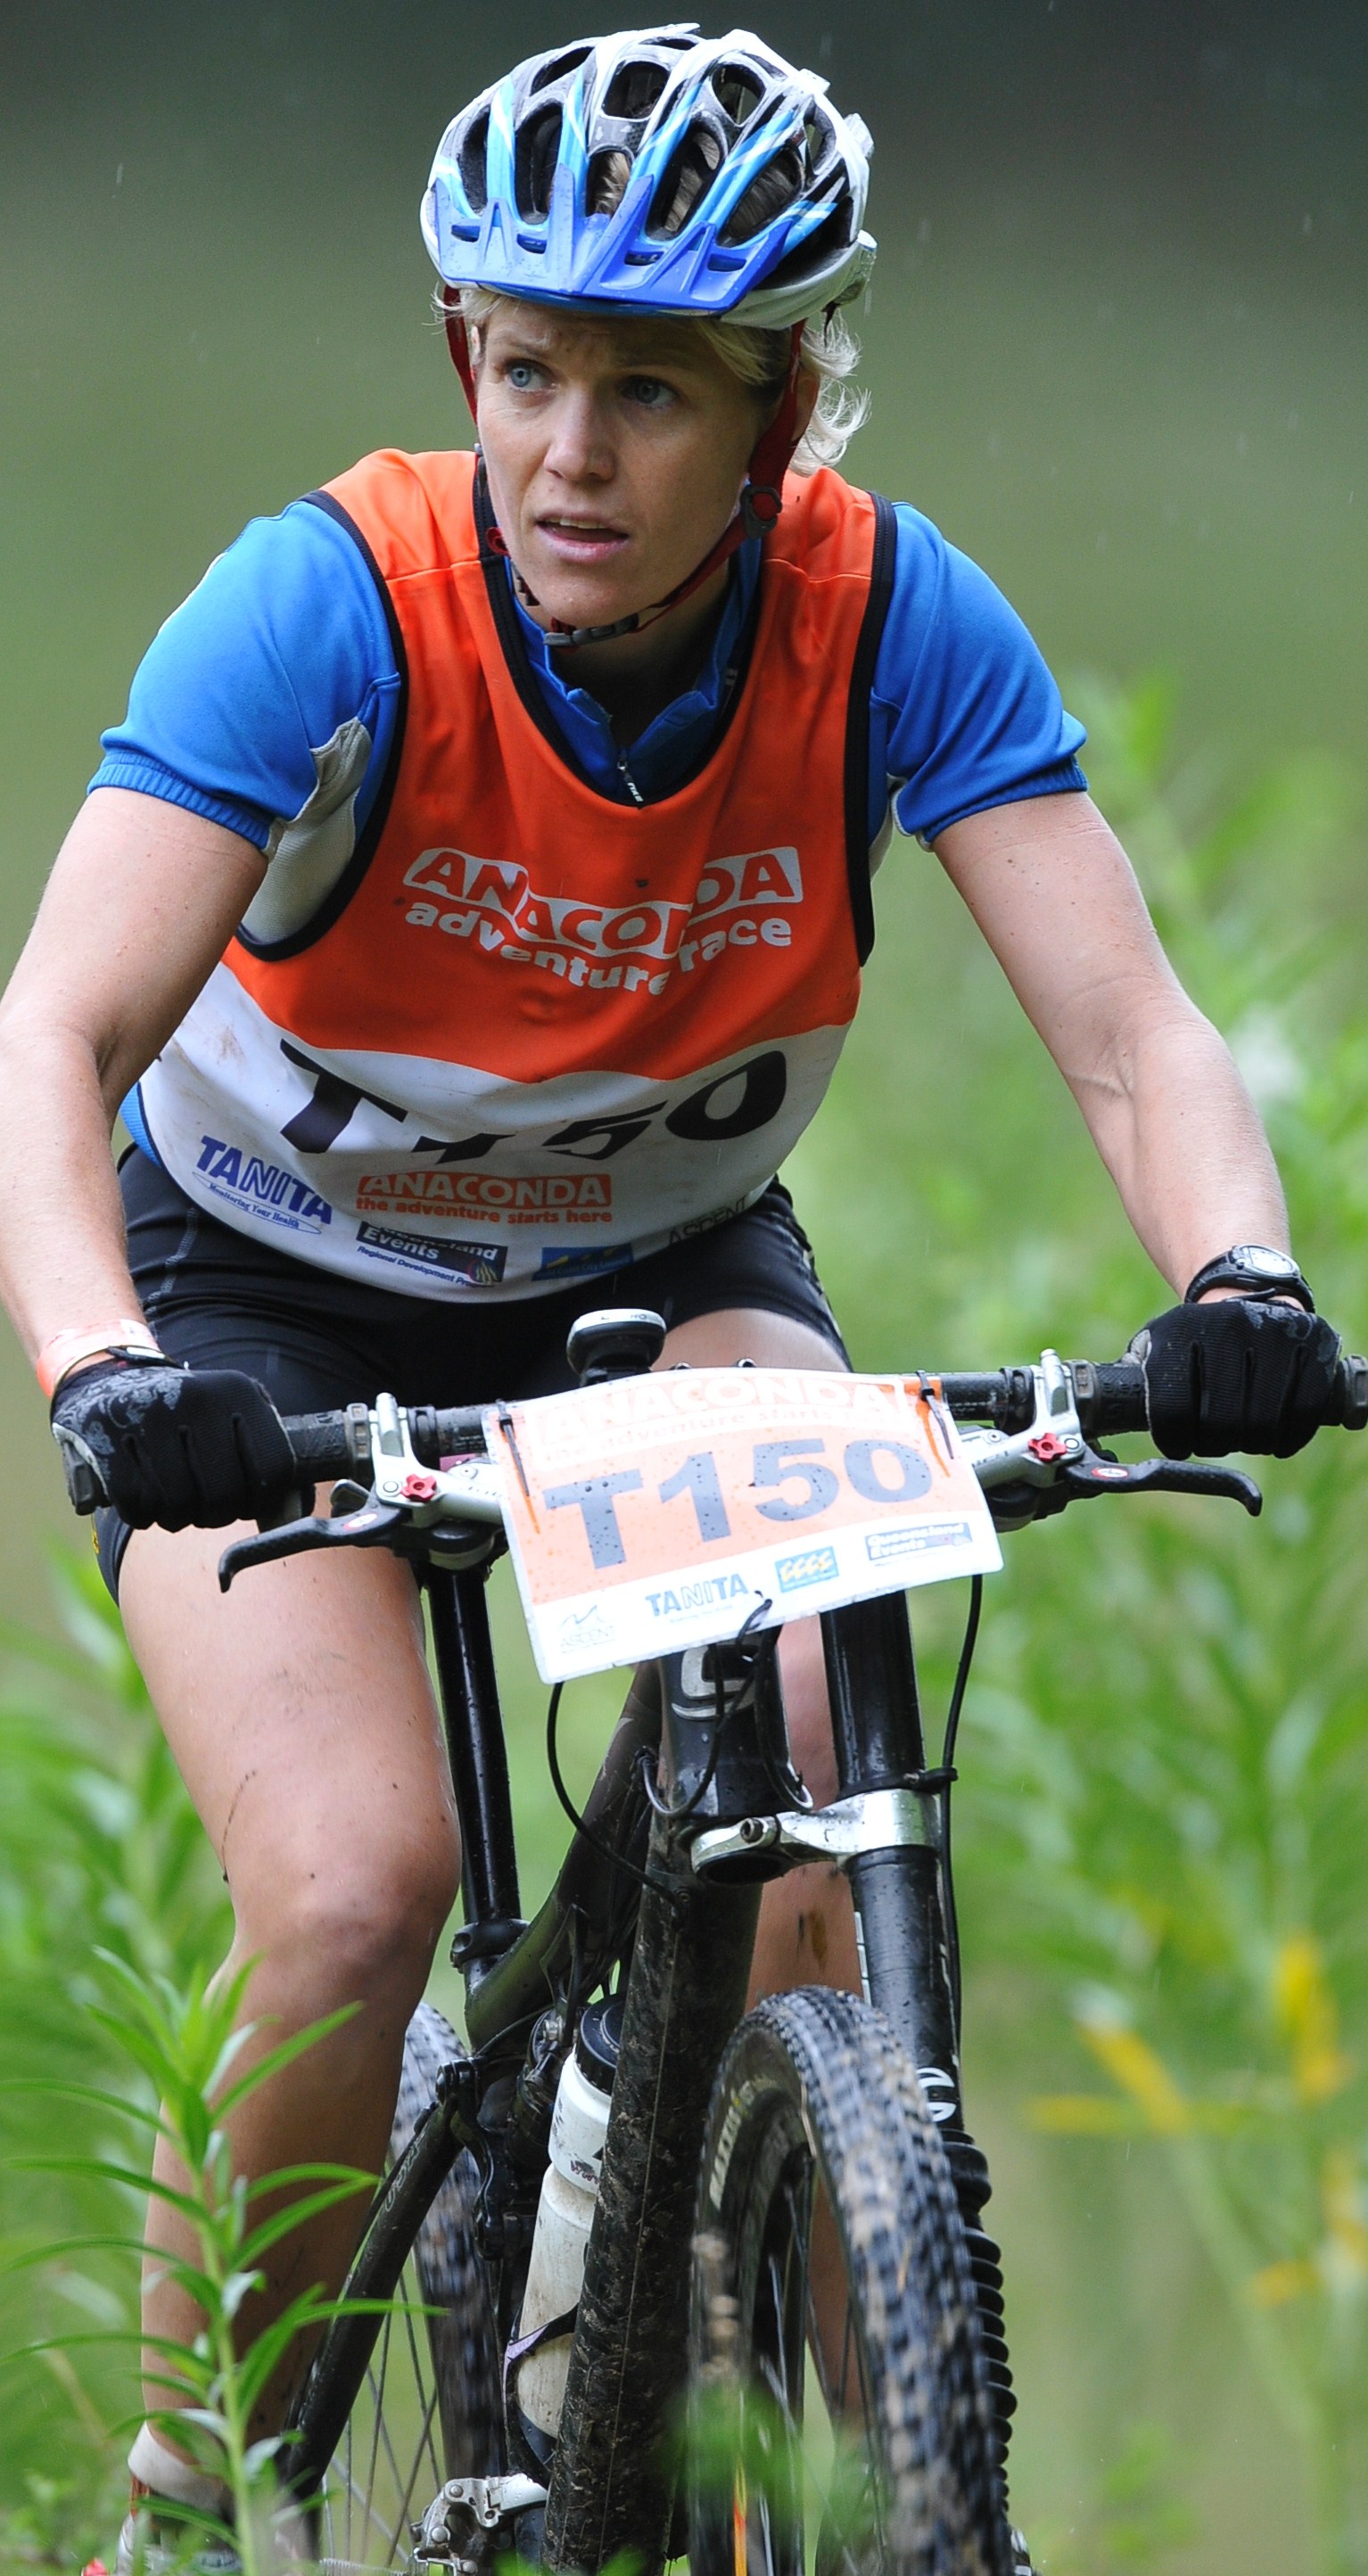
Finally, the Border Track is a trail used in the Anaconda Adventure Race on the GC with the best point of access being at the top of Bains Road off Currumbin Valley (look on the opposite side of the fence toTomewin Mountain Rd).  The track is hilly and relatively technical and only runs for 10-12km before you end up at the house line at Currumbin/Tugun and you need to find a way down off the track between houses.

There are some other great undefined and relatively unused tracks throughout the Hinterland. To ride these you really need to join a group who has been before and can roughly guide you (try contacting Nerang Mountain Bike Club).  These rides are usually a great adventure but are challenging and for the fitter and more technically skilled riders.


 

Loading...